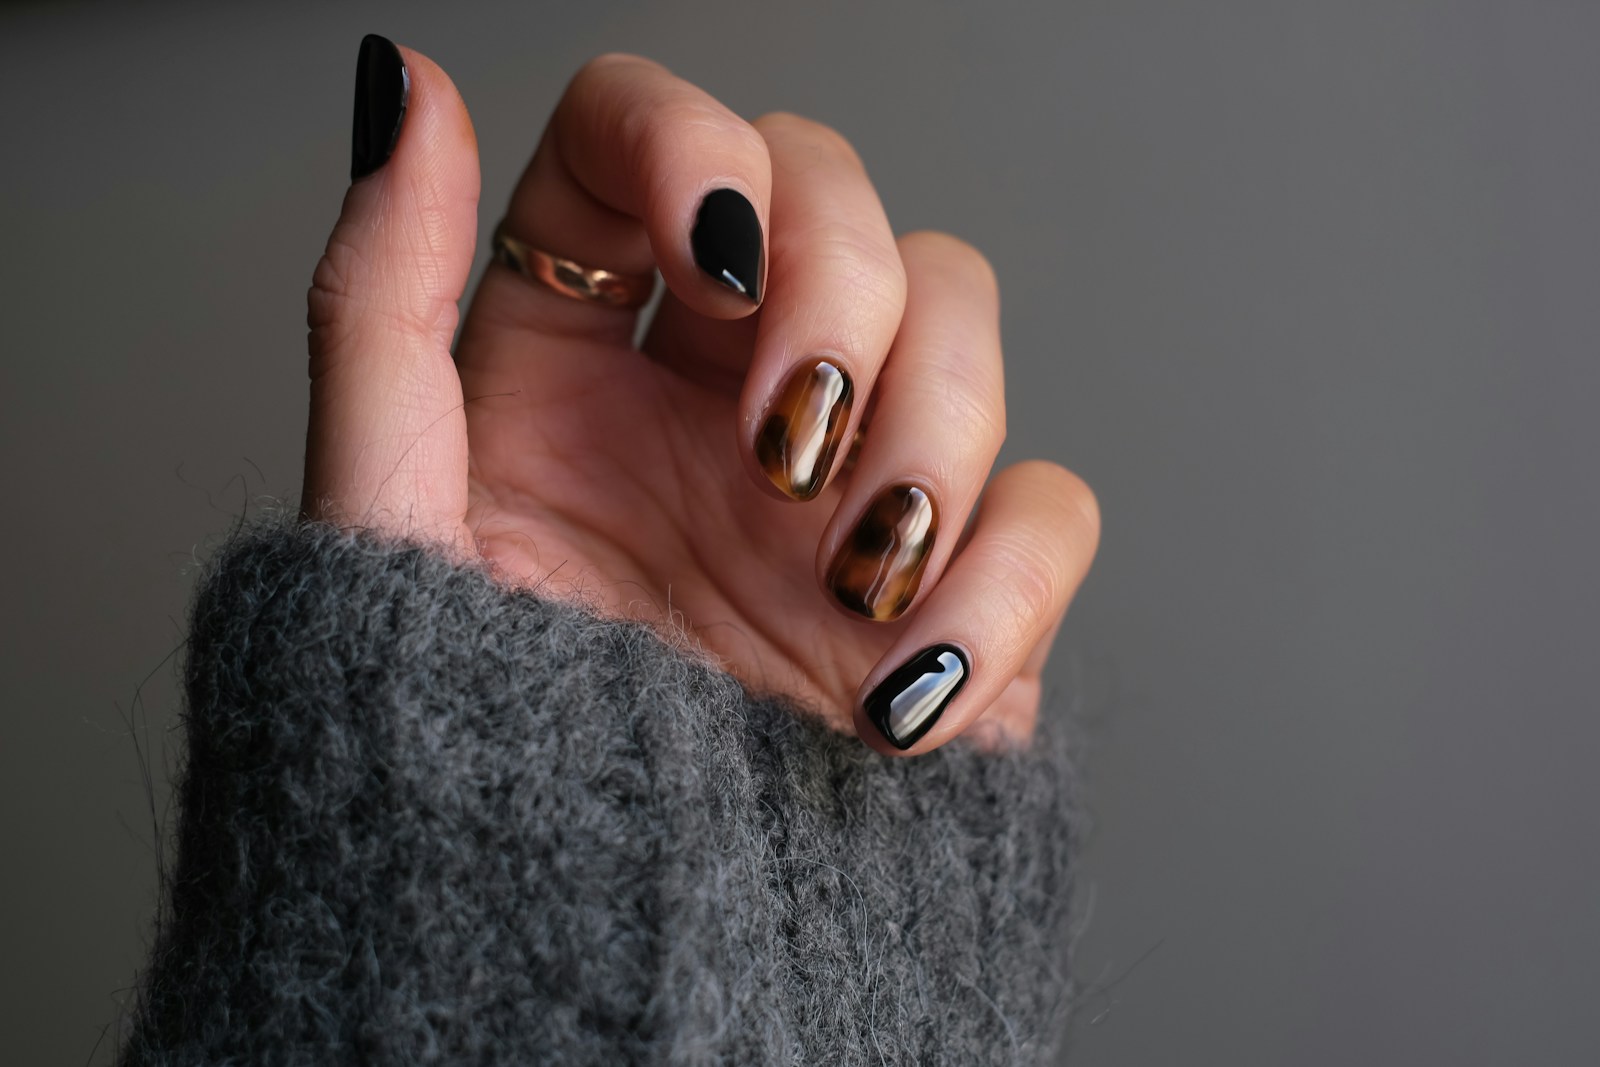
Are you ready to elevate your nail game? Tortoiseshell nails are the hottest trend, merging elegance with an artistic flair that complements any look. Inspired by the natural pattern of tortoiseshell, this design is versatile and can be adapted to suit various styles. In this guide, we’ll delve into everything you need to know to achieve stunning tortoiseshell nails, including techniques, colours, and maintenance tips. Let’s get started!
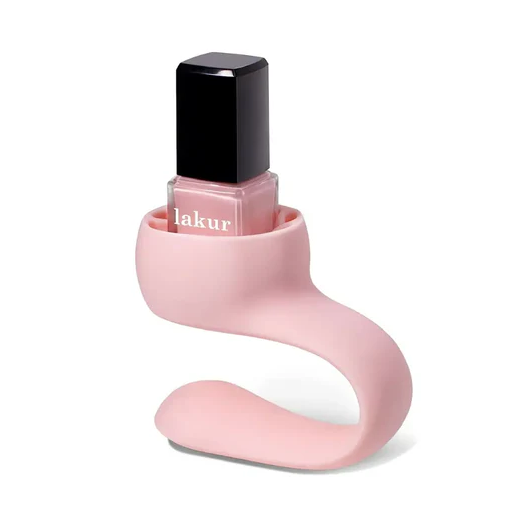
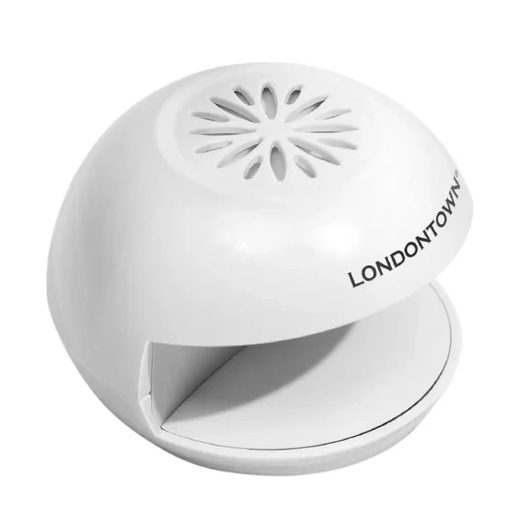
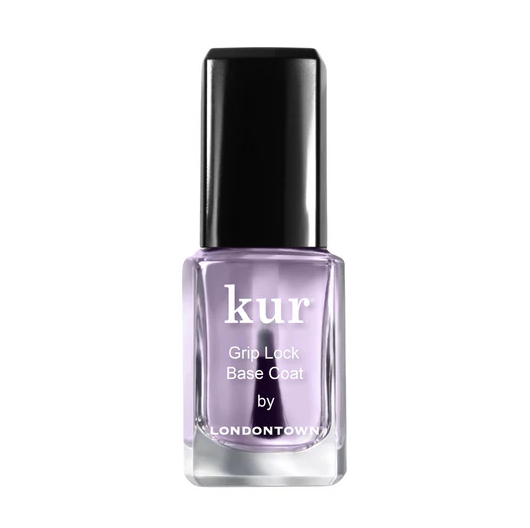
Get all your nail polish and nail care here.
What Are Tortoiseshell Nails?
Tortoiseshell nails mimic the beautiful, intricate patterns found in the shells of tortoises, characterized by warm browns, ambers, and blacks. The overall effect is a sophisticated yet playful look that can be customized in various ways, making it suitable for any occasion. Whether you opt for a full set or just an accent nail, tortoiseshell designs are sure to turn heads!
Why Choose Tortoiseshell Nails?
Tortoiseshell nails are not only visually striking, but they also offer an opportunity to showcase your creativity. Here are some reasons to consider this trending manicure:
- Versatility: The colour palette can be adapted to suit different skin tones and preferences.
- Seasonal Appeal: Perfectly suited for both autumn and summer, you can incorporate these designs year-round.
- Artistic Expression: The random, organic patterns allow for endless creativity.
- Easy Customization: You can pair tortoiseshell designs with other popular nail trends, such as matte finishes or glitter.
Essential Tools and Materials
To achieve professional-looking tortoiseshell nails, it’s important to prepare with the right tools and materials. Here’s what you’ll need:
- Nail polish: Choose a variety of shades, including deep browns, amber yellows, and black.
- Nail art brushes: These will help you create the intricate patterns typical of tortoiseshell designs.
- Makeup sponge: For blending colours seamlessly.
- Top coat: To seal and protect your design.
- Nail file and buffer: For shaping and smoothing your nails before application.
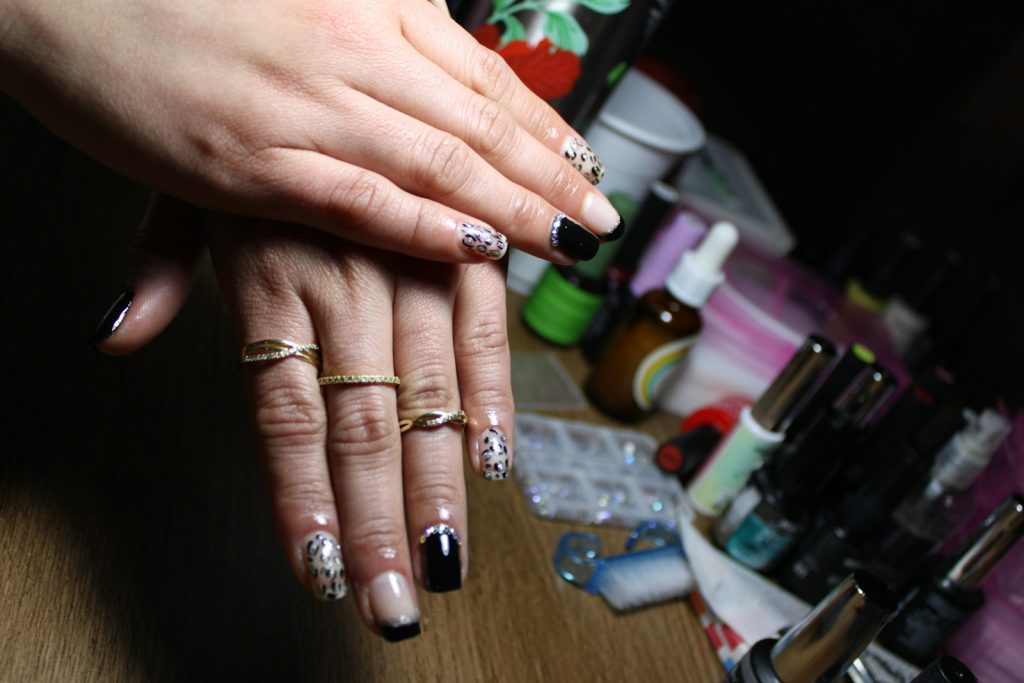
Step-by-Step Guide to Achieve Tortoiseshell Nails
Step 1: Prepare Your Nails
Start with clean, well-shaped nails:
- Remove any old nail polish.
- Trim and file your nails to your desired shape (square or oval works best).
- Use a buffer to smooth the surface for an even application.
- Apply a base coat to protect your natural nails.
Step 2: Apply the Base Color
Choose a neutral base colour for your tortoiseshell design. Light beige or soft cream works well:
- Apply one or two coats to achieve an even finish.
- Make sure each coat is completely dry before proceeding to the next step.
Step 3: Create the Tortoiseshell Pattern
Here comes the fun part—creating the iconic tortoiseshell pattern:
- Using a makeup sponge, dab your dark brown colour randomly over the nail, creating uneven patches.
- Next, repeat the process with your amber or gold shade, layering it over the brown.
- Finally, add small accent pieces of black polish to enhance the depth of the pattern.
- Remember, the more random the placement, the better the effect! A soft touch will create a more realistic appearance.
Step 4: Blend with a Brush or Sponge
To achieve that soft tortoiseshell effect, gently blend the colours:
- Using a small nail art brush, lightly blend the edges of each colour.
- Alternatively, you can use the makeup sponge to pat softly over the colours to intermix them.
- Take your time with this step, as blending is crucial for achieving a professional finish.
Step 5: Apply the Top Coat
Once you’re happy with your design, it’s time to seal it with a top coat:
- Choose a high-gloss top coat to enhance the colours and give your nails a shiny finish.
- This step will also help protect your design from chipping.
- Allow the top coat to dry completely.
Additional Tips for Stunning Tortoiseshell Nails
Experiment with Colors
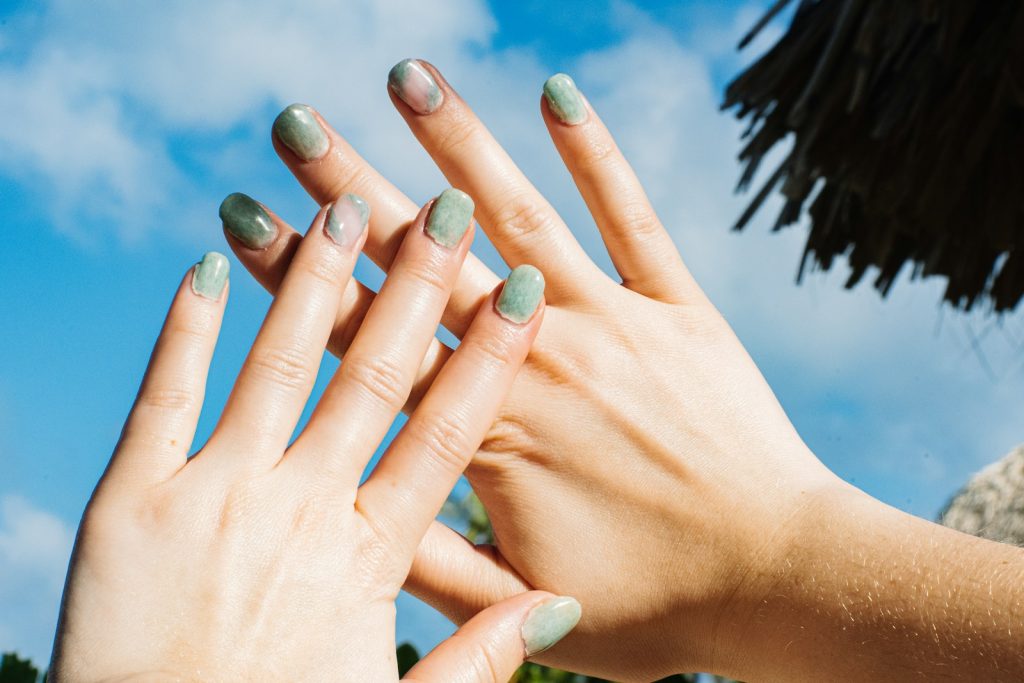
While traditional tortoiseshell features earthy browns and amber, don’t hesitate to experiment with colours such as:
- Greens: For a unique twist.
- Pinks and Purples: To make your nails summer-ready.
- Matte Finishes: For a contemporary look.
Consider Nail Length and Shape
Your nails’ length and shape can enhance the tortoiseshell effect:
- Longer Nails: Provide more space to showcase intricate designs.
- Square or Almond-Shaped Nails: Best complement tortoiseshell designs.
Maintenance Tips
To keep your tortoiseshell nails looking fresh, follow these maintenance tips:
- Apply cuticle oil daily to maintain healthy nails.
- Avoid exposure to harsh chemicals, which could cause chipping.
- Regularly apply a top coat to refresh the shine.
Common Mistakes to Avoid
To achieve the best tortoiseshell nails, steer clear of these common pitfalls:
- Too Much Product: Avoid using too much polish on your sponge, as this can create a messy look.
- Skipping the Base Coat: Neglecting this step can lead to staining of your natural nails.
- Forgetting to Blend: Blending is key to achieving a realistic tortoiseshell effect.
Conclusion
Tortoiseshell nails are a timeless design that combines elegance with a splash of creativity. By following these expert tips and tricks, you’ll be able to recreate this stunning look effortlessly. Remember, practice makes perfect, so don’t hesitate to experiment with colours and styles until you find what suits you best. Whether you’re preparing for a special occasion or just want to spruce up your everyday look, tortoiseshell nails are a fabulous choice. Show off your stunning designs and enjoy the compliments that come your way!
Ready to dive into the world of tortoiseshell nails? Grab your tools and unleash your creativity!
